How to Play Search For The Needle — Beginner's Guide
New to Search For The Needle? The search-sell-upgrade loop, the tools, classes, pets and chapters explained in one beginner-friendly guide.
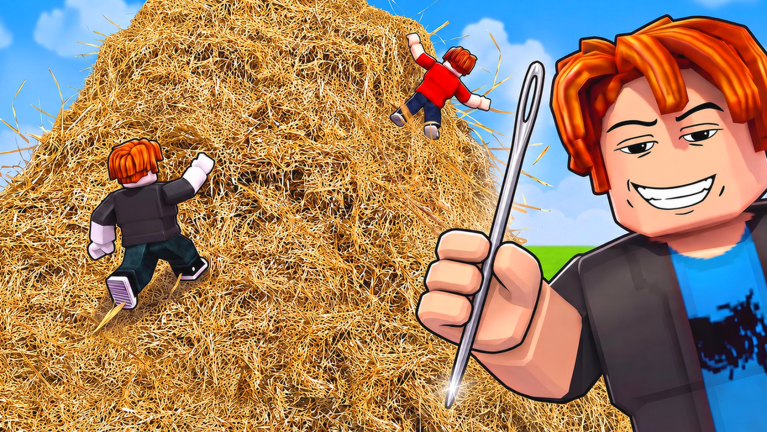
You load onto a farm, face a pile of hay taller than the barn, and somewhere inside it hides a needle. That is Search For The Needle in one sentence — a “chill cozy game”, in the developer’s own words, about the oldest impossible task there is. This guide covers your first hour: the loop, the tools, the systems and the order to touch them in.
What is the core gameplay loop?
Search hay → sell hay → buy upgrades → find the needle. Every system in the game hangs off that loop:
- Search — interact with hay to clear it away, patch by patch.
- Sell — trade what you cleared for currency.
- Upgrade — buy the next tool, reroll your class, equip pets.
- Find — with the pile shrinking fast, the needle reveals itself; your time is recorded.
Then you run it back. The game’s phrase for the last step — “Beat your best time” — is the hook: every multiplier you stack makes the next find quicker.
What should I do first?
In order, your first fifteen minutes:
- Redeem every code. The Codes button sits on the right side of the screen; the codes list has five-plus active codes worth 800+ Gems. This is free money — take it before anything else.
- Check your class. If you landed a Starter roll, spend some of those Gems on rerolls (40 each). The tier list tells you what to keep.
- Start clearing. Work the haystack in lanes from one side — systematic beats wandering.
- Sell in bulk. Let the hay stack up between sells rather than interrupting yourself.
From there the loop takes over, and your Gem income shifts from codes to play.
How do tools work?
Tools are the visible ladder of progress: Hand → Pitchfork → Dynamite → Vacuum → Hay Drone, each tier clearing more hay per pass than the last. The early rungs are cheap enough that buying them aggressively is correct — the faster you clear, the faster you earn, the faster the next rung arrives. The tools and upgrades guide breaks down each tier and when to buy.
What are classes, pets and skins?
Three multipliers stack on top of your tools:
- Classes — a random roll you can reroll for 40 Gems. Starter-tier rolls are common; ultimate rolls like Ultimate Farmer are one-in-a-thousand rare. Details in the class list.
- Pets — companions that boost your work and can evolve into stronger forms. See pets, skins and clans.
- Skins — cosmetic styles for your look; the game’s title carries the [SKINS] tag for a reason.
All three are optional in the sense that you can finish chapters without optimizing them — and all three are where a good run becomes a fast one.
What is the deal with the chapters?
The game is structured as chapters: Chapter 1 teaches the loop, Chapter 2 wraps it in Halloween puzzles and Cassette Tape collectibles, and Chapter 3 continues the story. The walkthroughs live here. Nothing is missable except the optional collectibles, so a first playthrough can relax — the game’s pace is deliberately cozy.
Beyond the chapters, the map holds secrets of its own: a locked basement door, Alien Chests, and a UFO badge that suggests the farm’s story reaches further than hay. The basement guide covers that end of the map.
Is anything missable or pay-to-win?
No and no. Chapters stay open, collectibles can be revisited, and every system that matters — tools, classes, pets — is earnable through play. The paid side (Gem packs, the Infinite Bag gamepass) buys convenience, not access. Play at whatever pace the cozy farm asks for; the needle is not going anywhere.
Where do I go after the first hour?
Three directions, in rough order of value: push the tool ladder toward the drone tier, take a reroll session at the class table, and start hunting the badges — Welcome!, Found the Needle!, Find the UFO, Finished Chapter 2! — covered in the badges and speedrun guide. After that, the timer is your endgame.
Related Articles
chapters
Search For The Needle Chapter 1 Walkthrough — Find Your First Needle
Chapter 1 of Search For The Needle explained: search the hay, learn the tools, find the needle and beat your best time.
chapters
Search For The Needle Chapter 2 Walkthrough — Halloween Puzzles
Chapter 2 of Search For The Needle: the Halloween puzzle room, the Cassette Tape collectibles and how to finish the chapter cleanly.
chapters
Search For The Needle Chapter 3 — What We Know So Far
Chapter 3 of Search For The Needle: the story continues past the Halloween chapter. What is confirmed, what is coming and how to prepare.
Was this helpful?
Thanks for the feedback!